Update 2: Here’s the new installation guide: PreMadeNiches Blog Installation Tutorial
Update 1: With the latest tools, you no longer need to follow the arduous steps discussed in this post. All blog package comes with a premium plugin that makes the installation quick and easy. You only need to create a MySQL database and then upload the blog installation files to your web host.
No more messing with codes, SQL file, and myPHPadmin.
There are two ways to do this: 1) manual installation by uploading the WordPress files on the server and 2) automatic installation using the Fantastico De Luxe or Quick Install (Host Gator).
Please refer to the manual on “WordPress Installation Using Fantastico De Luxe“
If you are on Host Gator refer to “WordPress Installation Using QuickInstall“
For this tutorial, I’m going to put this blog file on a sub-directory using manual WordPress installation.
Watch Video Tutorial
Step by Step Tutorial
1Go to File Manager on your cPanel.
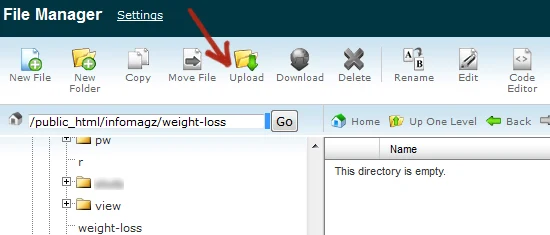
2Upload the still zipped WordPress platform files which you should have downloaded it earlier from WordPress.org.
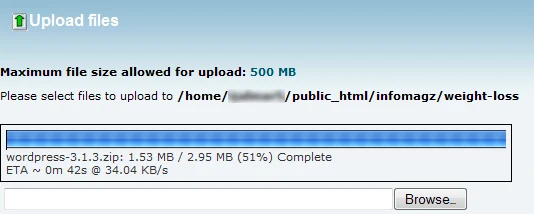
3After successful upload, right click your mouse over the file and click extract.
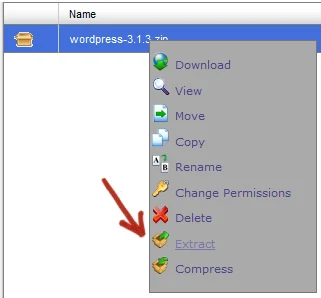
4Since we’re going to install WordPress in a sub-directory, I’ll extract it on the main directory. A directory called WordPress will be automatically created after extraction.
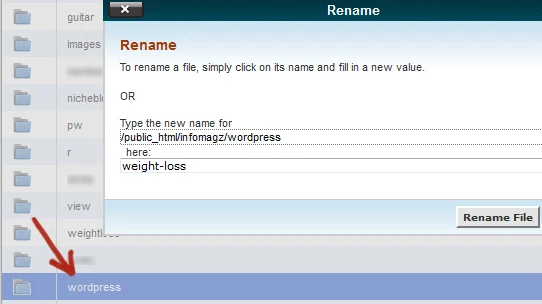
5Right click your mouse over the WordPress file and rename that to whatever you wish. In this case since I’m installing a business loans blog, I renamed it as Business Loans so that my resulting site address would be http://azhubs.com/bloans/
6Type your resulting site URL to your browser address bar. (Or simply copy and paste).

7Click Enter on your keypad.
8Click “Create a Configuration File” button then follow the prompts until you come to this point:
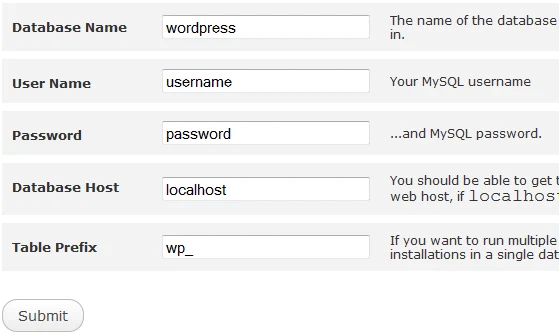
9Now this is where you will use the database name, database username, and password which you should have noted in STEP 1, when you created a new MySQL database.
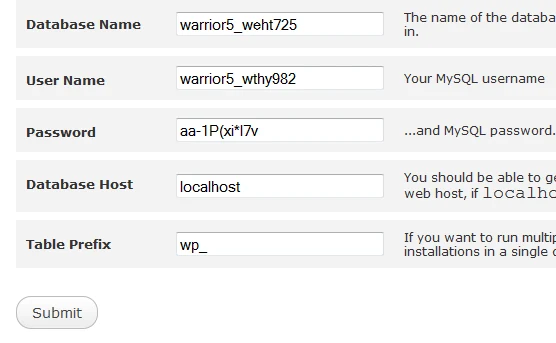
10Copy paste your database details as needed and then click “Submit” button. If everything is done right then you should see this page.
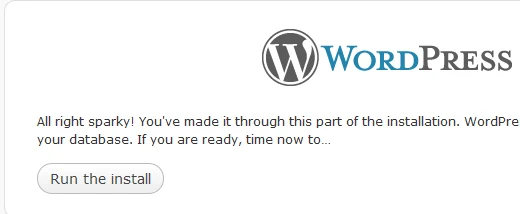
11All right spooky doo! Yehaaa! Simply click “Run the install” button and everything should be easy to follow from this point onwards.
12When you arrive at this page, simply fill it up with anything just for compliance. You will be replacing this later through the PhPMyAdmin panel anyway. This will be overridden on STEP 6.
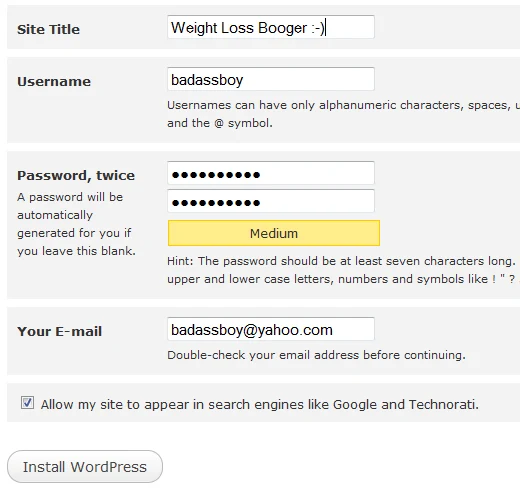
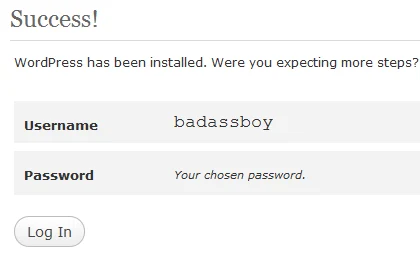
13Click “Install WordPress“. Success! You don’t even need to login at this point.
